top of page
To our project page where you can see projects
Welcome
Start to finish
The problems we found
And how we fixed them

The first day looks ominous. It just stopped raining; we are all set up and have plywood over the gutter to protect it. All the old shingles will be going into the trailer. This roof has two layers of shingles.

A look before the work starts, notice the spot just past the solar dome where a swamp cooler was. This area is leaking.

Ponding. The end of this roof is like a ski jump, ponding water.

We will definitely have to fix this area by replacing all the plywood at the bottom of the roof.

There is a gap between the chimney and the roof. It only leaks every time is rains.

This is the finished product of the chimney. If you would like to see it start to finish, go to the blog.

When tar is smothered on like this it actually traps water under the roof.

We wrap water shield under the roof collar, that. is the first part of our No leak promise.

The second part is to leave a gap between the shingles and the chimney. We call it the water way, a way for the water to go around the chimney.

This house also has two layers of shingles to remove.

In this spot there was water trapped under the shingles rusting all the nails. The shingles were just sitting here with nothing holding them down.

The second layer of shingles are extremely difficult to remove, they are brittle and break into small pices.

We fixed all the bad wood, re nailed all of the plywood, pulled all the nails and used a leaf blower to clean to a dust free environment.

We had to re nail all of the plywood because the moisture that was trapped between the layers of shingles rusted the nails in the plywood.

We always put water shield in the valleys

Notice the water shield on the lower low sloped roof. The roof pitch is lower than shingle manufactures recommend that is why we install water shield as an extra layer of protection.

The shingles are all laid out ready to systematically roof with efficiency.

We are going to cut all the shingle bundles open and put a coil of nails above each bundle before we introduce nail guns and air hoses to the mix.

We changed the plywood but feel that it still may have a small ski jump so we installed a Metal sheet across the bottom so it can never pond again.

We always install a strip of watershield at an angle change and lap it on top of the shingles. strengthening that area which could be a weak spot.

The no leak promise, water shield wrap.

Another, no leak promise wrap.

There are waterways around the chimneys completing the no leak promise.

We have water shield installed under the solar dome.

In this instance we installed water shield on top also.

This is a duplex; we are not reroofing left side. We collaborated with another company to match the brand and color that they were using.

Early morning and we are excited to start this project.

All ten vent holes are marked and ready for installation of new ones.

We are not using our normal brand of shingles. The other side of the duplex is being done also, and it is important for us to match the other side.

We are moving right along.

This was a lunch time photo.

We are wrapping water shield around the vents as our No Leak Promise.

We always install metal plates under the feet.

The first reason is to stabilize the plywood so the feet cannot push through. This spot is always a weak spot.

The second reason is so the final screws in the feet hits something substantial. Most often there are many nail and screw holes in that area and won't hold a screw anymore.

All the vents installed with our No Leak Promise.

No tar, sealant or goop. Looks sharp and will last the lifetime of the roof. Guaranteed.

Clean, neat fast and efficient.

Cedaredge, Colorado
We missed the before picture from the ground because these neighbors distracted us.

This is the before picture since the neighbors distracted us.

We will be removing the swamp cooler; they are getting central air installed.

Here we had to put strips of water shied over the plywood seams because the plywood was slightly buckling from not enough venting, we added some.

The water shield strips float out the unevenness of the plywood, making the unevenness not visible in the finish product.

Fire averted
This dryer vent was completely blocked.

This entire corner was rotten, top bottom and sides.

We fixed it in no time and kept on moving forward.

Shingles delivered, laid out ready to start roofing.

Notice the black water shield on the low sloped roof. The slope is less than shingle manufactures recommend so we install water shield as an extra layer of protection.

We stopped for lunch and this neighbor was trying to take our lunch. So, we drove up the road for lunch.

The spot we had lunch was so beautiful we wanted to share it with you.

Coming back from lunch ready to start installing shingles.

The other side of the house before installing shingles.

Showing the No Leak Promise. (Water shield wrapped around the vent lapping on top of the shingles.)

Notice the small gap around the vent. That is our water way, a way for the water to get around without being forced under the shingles.

This picture is showing how we lap a strip of water shield over a shingle row at any angle change. This strengthens this area; it is a weak point since the shingles bend there.

Showing the no leak promise. the shingles will also go under the water shield on the top vent.

Notice the water ways around the vents.

The water shield wrap lapping on top of the shingles is half of the No Leak Promise.

The other half of the no leak promise is the water way. A gap between the shingles and the protrusion. It gives the water a way around.

We are almost done with the roof, and a rain cloud is coming our way.

We are waiting out the rain under the car port.

Clean, Neat, Fast and Efficient. The swamp cooler is gone, all the protrusions painted.

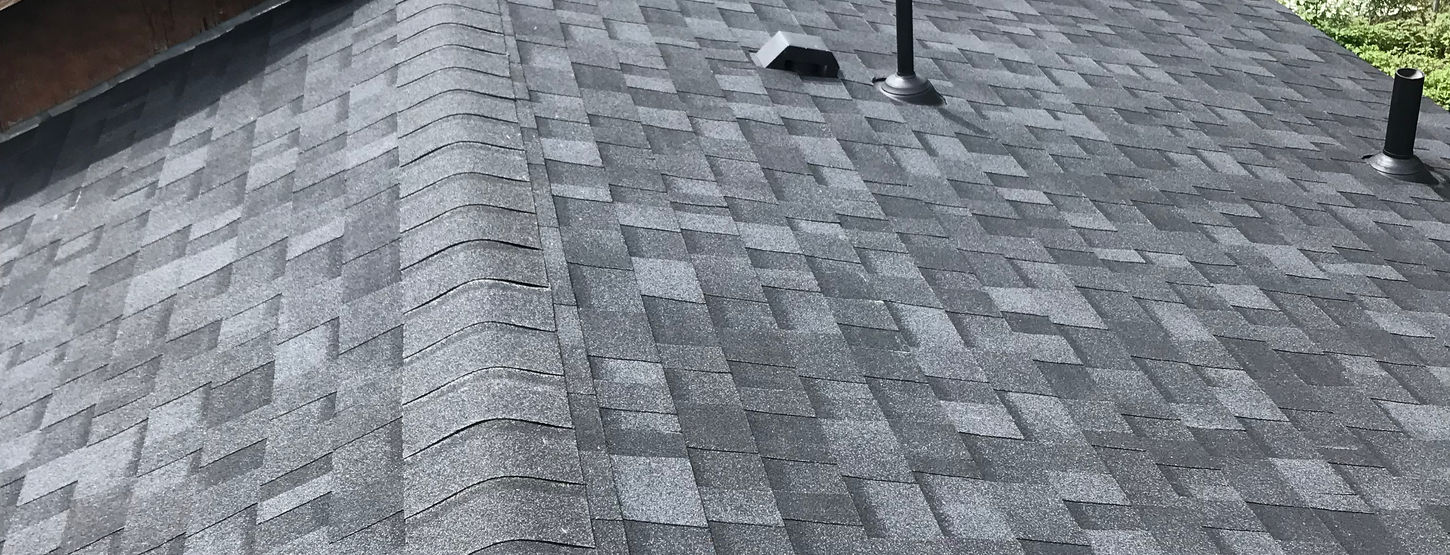
Finished Product. Looks sharp, indeed.

The first day.
This is the before picture.

Swamp cooler.
What a mess! multiple layers of roofing all glued together, who knows what is under all of that.

A different angle
The swamp cooler side view before starting.

multiple shingle layers
A look at the multiple layers of shingles, the left side has white drip edge covering the extra layers basically hiding them.

Rotten wood
The plywood is rotten, one more layer of shingles to remove from around the swamp cooler.

Wood replaced
We ended up having to rebuild a couple trusses under the plywood.

Rust
The flashing has rusted away. We will put another layer of flashing over it.

Ponding
There is a situation, The roof has a ponding issue at the angle change, it must be floated.

Floated
A floater was installed over the ponding issue.

Ponding area
This is a look at how the ponding area looks done. The roof continually goes downhill with no up slopes. Ponding fixed, leaks averted.

Another ponding issue.
The bottom board is higher than the bottom of the roof creating a ponding issue. We will trim it level to the roof line. We'll trim the high sideboard also.

Watertight
The swamp cooler area is watertight and ready to handle some rain. And it does.

Section watertight
The lower sloped roof got water shield installed on entire roof because the slope is less than recommended by manufactures. This ensures our No Leak Promise.

Ready for rain.
The house is watertight, we are expecting rain.

Microburst
Heavy rain and wind, the streets were flooded and there were trees blown down everywhere. Not a drop of water penetrated the roof line.

Shingles delivered.
The shingles are all laid out ready to get installed.

Quick pick.
The roof inspector stopped by and was happy to see that everything was in order, and we passed the mid roof inspection.

Finished
The swamp cooler area is all fixed and reroofed.

New Flashing
We installed new flashing around the base of the swamp cooler

No Leak Promise
We always wrap water shield around all protrusions, making sure that the water shield laps on top of the shingles. This is our No Leak Promise.

Finish product.
The vent has the No Leak Promise from Rottweiler Roofing, and it looks great.

Almost done.
Just a few more rows of shingles to install.

A look at the new garage roof while coming down off the house roof.

The front side of the house roof all finished.

This is the back side of the house roof, new flashing and shingles. All the problems fixed.
This is a project in which is presented in video form. Touch the screen to play the story.


This house was in the middle of a sale and needed a quick fix.

The famous grand valley wind blew these caps off.

We were happy to be of service.
bottom of page

